UP-FM Transmitter: Difference between revisions
No edit summary |
|||
| Line 77: | Line 77: | ||
'''B. Programming the PIfm:''' | '''B. Programming the PIfm:''' | ||
*You will now program the PIfm in Raspberry PI. First you must have an SD card with Raspbian "wheezy" OS. | *You will now program the PIfm in Raspberry PI. First you must have an SD card with Raspbian "wheezy" OS (I prefer to use the windows in installing the Raspbian). First you must download and install the '''Win 32 disk imager''' to your windows PC(you can download it <a href="http://sourceforge.net/projects/win32diskimager"> here</a>).Next is the | ||
| Line 88: | Line 89: | ||
* Peter Sy (consultant) | * Peter Sy (consultant) | ||
[[File:UP-FM-transmitter.png|250px|thumb|right|UP-FM transmitter in action | [[File:UP-FM-transmitter.png|250px|thumb|right|UP-FM transmitter in action]] | ||
<br/> | <br/> | ||
Revision as of 14:44, 24 April 2014
DESCRIPTION
A Raspberry Pi-based program FM transmitter that plays online UP-FM music radio. Radio receivers can tune in to 87.5MHz if the transmitter is in range.
Individuals from the different UP campuses, UP alumni and friends in different locations, lovers of Filipino indie music are encouraged to build and use this device to broadcast UP-FM in their areas.
COMPONENTS
A. For PIFM:
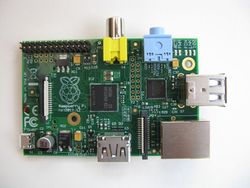
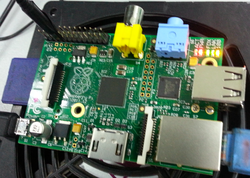
- Raspberry PI (model B).
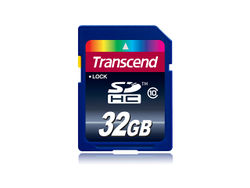
- SD Card with Raspbian "Wheezy" OS installed.
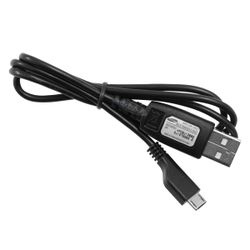
- USB Micro Cable
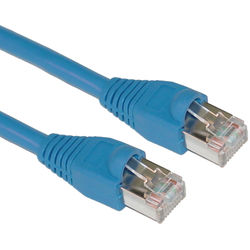
- Ethernet Cable
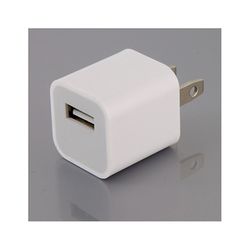
- Power Brick (5 volts, 2 amperes)
- Solid wire,no.22 and GPIO Cable (for the antenna)
- Soldering iron,Soldering lead,Electrical tape
B. For Programming:
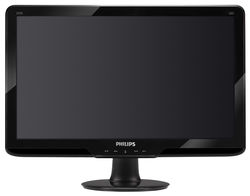
- PC Monitor
- USB Mouse
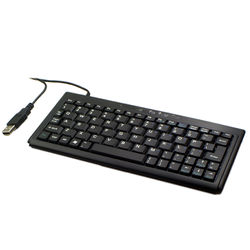
- USB Keyboard
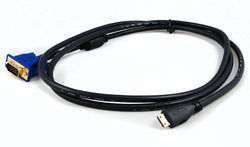
- VGA to HDMI Cable
PROCEDURES
A. Making a Simple Antenna:
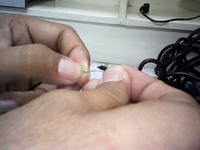
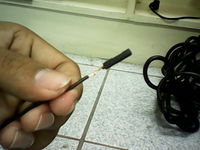
- Since you may not have an ideal antenna, you will use a solid wire (no.22) as substitute. Cut a solid wire about 32 centimeters and stripe one end at least 1 cm. Also cut the GPIO cable wire near the socket and leave at least 1 cm wire on it. Stripe the wire near the GPIO socket. Combine both ends of the solid wire and GPIO socket using lead and soldering iron. Wrap the soldered wire and GPIO with the tape (see picture below).
B. Programming the PIfm:
- You will now program the PIfm in Raspberry PI. First you must have an SD card with Raspbian "wheezy" OS (I prefer to use the windows in installing the Raspbian). First you must download and install the Win 32 disk imager to your windows PC(you can download it <a href="http://sourceforge.net/projects/win32diskimager"> here</a>).Next is the
Development Team
- Jhon Mark Sorio
- Nestor Tiglao (consultant)
- Peter Sy (consultant)
Cost Estimate
- Raspberry Pi Type B 512MB: Php 1,500
- SD Card
- wire antenna
References
See Also

